Introduction
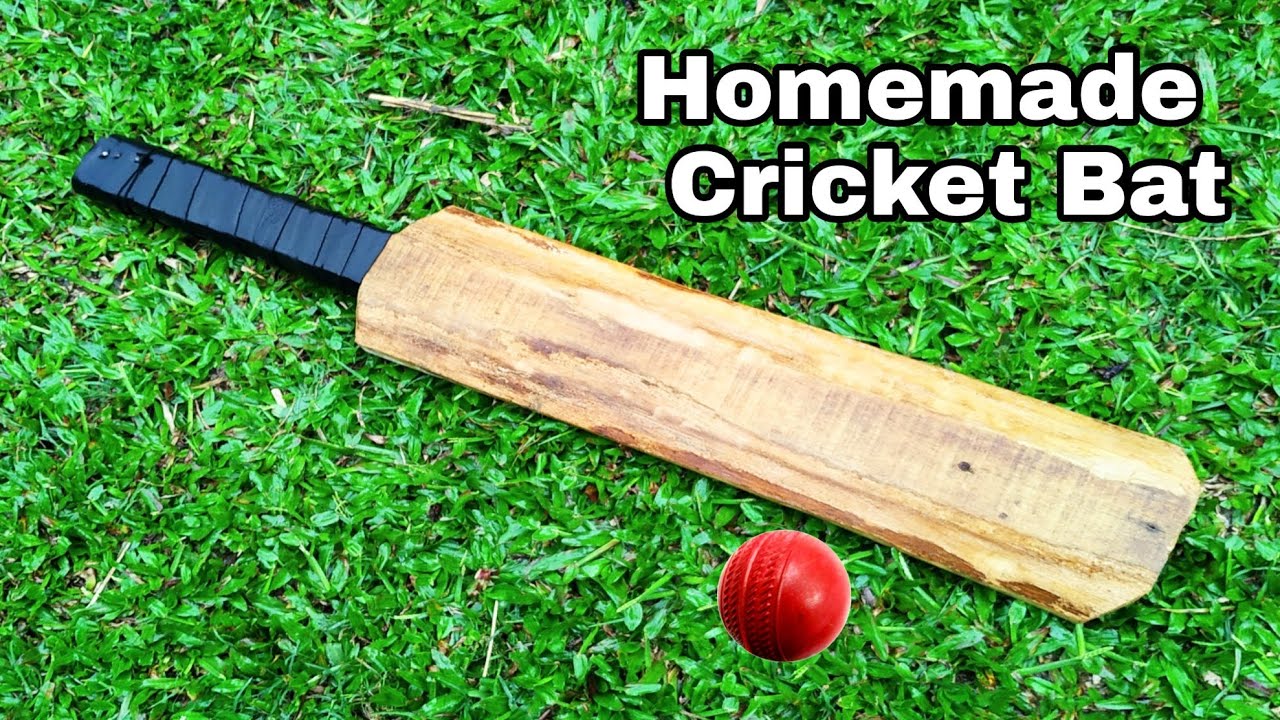
Cricket, a sport loved by millions around the world, is a game of skills and precision. While players hone their talents, the equipment they use plays a pivotal role in their performance. One of the most critical pieces of equipment in cricket is the cricket bat. A well-crafted bat can make a significant difference in a player’s gameplay, enabling powerful shots and accurate strokes.
In this blog post, we will explore the art of making a cricket bat, step by step. Crafting a cricket bat is a meticulous process that involves selecting the right materials, shaping the bat, attaching the handle, and applying the finishing touches. Whether you are a cricket enthusiast curious about the bat-making process or an aspiring bat-maker, this guide will provide you with valuable insights and techniques.
Understanding the nuances of choosing the right willow, shaping the bat for optimum performance, and adding the handle for a comfortable grip are essential skills for any cricket bat maker. Additionally, we will delve into the finishing techniques that give the bat its final polish and durability.
Throughout this blog post, we will provide detailed instructions, accompanied by images and diagrams to enhance your understanding. We will also address common questions related to cricket bat making in the Frequently Asked Questions (FAQ) section. By the end of this guide, you will have a comprehensive knowledge of how to make a cricket bat from scratch.
So, let’s embark on this exciting journey of crafting the perfect cricket bat, where tradition meets innovation, and skill meets passion.
Materials Needed
Before you start crafting your own cricket bat, it’s essential to gather all the necessary materials. Here’s a comprehensive list of what you’ll need:
1. Willow Wood
Willow wood is the heart of any cricket bat. It’s important to choose the right type of willow to ensure the bat’s quality. The two primary varieties of willow used for
2. Tools
You’ll need various tools to shape and assemble your cricket bat. Here’s a list of essential tools:
- Saw: For cutting the willow blade to the desired shape and size.
- Lathe: To shape the handle and blade precisely.
- Spokeshave: For finer shaping and smoothing of the blade and handle.
- Woodworking Clamps: To hold the blade and handle together during assembly.
- Woodworking Files: For refining edges and contours.
- Sandpaper: Different grits for sanding and finishing the bat.
- Glue: High-quality adhesive for attaching the blade to the handle.
- Binding Material: A twine or tape for securing the blade-handle joint.
3. Glue and Binding Material
Choosing the right glue is crucial for a durable cricket bat. Look for a strong, waterproof adhesive designed for woodworking. Additionally, you’ll need binding material, such as twine or tape, to wrap around the blade-handle joint securely. This ensures a tight bond while the glue dries.
4. Sandpaper
Sandpaper of various grits is essential for the finishing touches on your bat. Coarser grits are used for initial shaping, while finer grits provide a smooth and polished surface. The sandpaper helps achieve the desired weight, balance, and appearance of your cricket bat.
5. Protective Gear
Don’t forget to prioritize safety. When working with tools, wear safety goggles to protect your eyes from wood particles and dust. Additionally, consider using a dust mask to prevent inhaling fine wood dust, especially when sanding.
Once you’ve gathered all these materials, you’ll be well-prepared to embark on your journey of crafting a cricket bat that suits your playing style and preferences.
Step-by-Step Process

Creating a cricket bat is a detailed process that requires precision and care. Follow these steps to craft your own cricket bat:
1. Selecting the Willow Blade
The quality of the willow blade significantly impacts the bat’s performance. Look for a blade that has straight grains and minimal blemishes. The grains should ideally run parallel to the face of the bat. English willow is preferred for its lightweight and excellent performance.
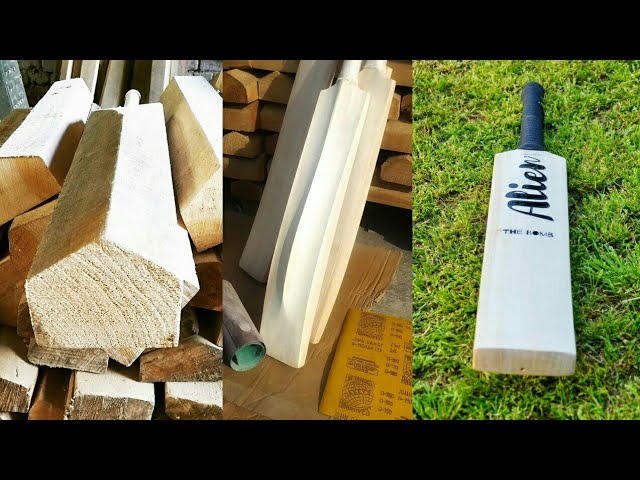
2. Cutting and Shaping the Blade
Begin by cutting the willow blade to the desired length, typically around 33 to 34 inches. Use a saw for this purpose. Once cut, use a lathe to shape the blade. The lathe allows you to create the characteristic shape of a cricket bat with a flat face and curved edges. Be precise in achieving the desired contours.
3. Handle Preparation
The handle is typically made separately from a different piece of wood, often from a piece of cane. Shape the handle to your preferred dimensions. It should be comfortable to grip and provide good balance to the bat. Secure the handle to the blade temporarily.
4. Blade and Handle Assembly
Now, it’s time to permanently attach the handle to the blade. Apply a generous amount of high-quality adhesive to the handle and insert it into the hole in the blade. Ensure a snug fit. Use woodworking clamps to hold the assembly in place while the glue dries. This step is critical for a sturdy bat.
5. Sanding and Finishing
Once the glue has dried, remove the clamps. Now, use woodworking files and sandpaper to refine the edges, contours, and surfaces of the bat. Start with coarser grits to remove excess material and gradually move to finer grits for a smooth finish. Pay attention to the handle’s shape and comfort during this process.
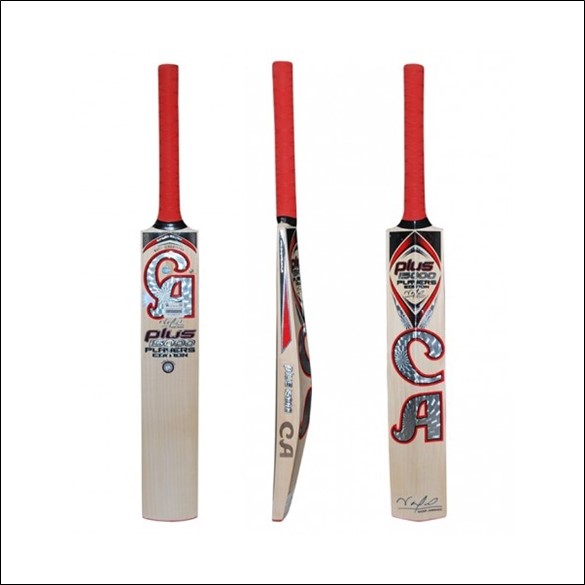
6. Applying the Blade Sticker
Many cricketers prefer to apply a sticker on the blade for aesthetics and to protect the wood. Carefully apply the sticker of your choice, ensuring it adheres smoothly to the blade’s surface.
7. Balancing and Weighing
Now, it’s time to check the bat’s balance and weight. Make any final adjustments by removing material from specific areas to achieve the desired balance. Keep in mind that the bat’s weight must conform to regulations set by cricket governing bodies.
With these steps completed, your cricket bat is ready for play. It’s essential to practice with it to get a feel for its performance and make any minor adjustments as needed. Crafting your cricket bat can be a rewarding experience, and with proper care and maintenance, it can serve you well on the
Common Mistakes to Avoid
While crafting your cricket bat, it’s crucial to be aware of common mistakes that can compromise the quality and performance of your bat. Here are some pitfalls to avoid:
1. Choosing Poor Quality Willow
Tip: Always select high-quality willow. Poor-quality willow with uneven grains or blemishes can lead to a subpar bat that lacks power and durability.
2. Inadequate Shaping
Tip: Ensure precise shaping of the blade using a lathe. Inaccurate contours can affect the bat’s balance and performance.
3. Weak Handle Attachment
Tip: Use a strong adhesive and proper clamping during handle attachment. A weak joint can lead to the handle separating from the blade during play.
4. Neglecting Sanding and Finishing
Tip: Thoroughly sand and finish the bat. Neglecting this step can result in rough surfaces, which may affect the bat’s performance and durability.
5. Incorrect Blade Sticker Application
Tip: Apply the blade sticker carefully and evenly. Bubbles or peeling stickers can affect the aesthetics and protection of the bat.
6. Imbalanced Weight
Tip: Ensure the bat’s weight conforms to regulations. An imbalanced or overly heavy bat may be uncomfortable to use and could lead to poor performance.
7. Rushing the Process
Tip: Take your time throughout the crafting process. Rushing can lead to mistakes and compromises in the quality of the finished bat.
8. Lack of Protective Gear
Tip: Always wear safety goggles and a dust mask when working with tools and sanding. Protecting yourself from wood particles and dust is essential for your safety.
By being mindful of these common mistakes and following the correct procedures, you can increase your chances of crafting a high-quality cricket bat that enhances your performance on the field. Remember that practice and attention to detail are key to success in this craft.
Frequently Asked Questions (FAQ)
Cricket enthusiasts often have questions about making their own cricket bats. Here are some frequently asked questions to guide you through the process:
1. What type of wood is best for a cricket bat?
Traditionally, cricket bats are made from willow wood. English Willow and Kashmir Willow are the most popular choices due to their durability and lightweight nature. English Willow is preferred by professional players for its superior performance.
2. How do I choose the right willow for my bat?
When selecting willow for your cricket bat, look for straight grains and minimal blemishes. The grains indicate the age of the tree, and straight grains ensure better durability and performance. Professional players often prefer bats with 6 to 12 straight grains.
3. What tools and equipment do I need to make a cricket bat?
Some essential tools and equipment include a cricket bat template, carving tools, sandpaper, a handle, adhesive, a press, and finishing materials such as linseed oil and wax. You can find these tools at woodworking stores or online suppliers.
4. Can I customize the shape and size of my cricket bat?
Yes, you can customize the shape and size of your cricket bat according to your playing style and preferences. However, it’s crucial to maintain the bat’s dimensions within the regulations specified by cricket governing bodies, such as the MCC (Marylebone Cricket Club) guidelines.
5. How do I maintain and care for my homemade cricket bat?
To ensure the longevity of your homemade cricket bat, regularly oil the blade with linseed oil to maintain moisture balance. Avoid playing with the bat on damp surfaces, as excessive moisture can damage the wood. Store your bat in a cool, dry place when not in use.
6. Can I use my homemade bat in professional matches?
Whether you can use your homemade cricket bat in professional matches depends on the regulations of the specific cricket league or tournament. It’s advisable to check with the organizing committee or governing body to confirm if homemade bats are allowed in official matches.
7. Is it cost-effective to make my own cricket bat?
Making your own cricket bat can be cost-effective if you have the necessary tools and skills. While initial investments in tools and materials are required, the ability to customize your bat and the satisfaction of crafting it yourself can outweigh the costs for many enthusiasts.
Remember that making a cricket bat requires precision and patience. Following proper techniques and guidelines will help you create a high-quality bat that enhances your performance on the cricket field.
Conclusion
Creating your own cricket bat can be a rewarding experience, allowing you to customize the bat according to your playing style and preferences. Remember, the quality of the willow you choose significantly influences the performance of the bat. By selecting the right willow, shaping it meticulously, attaching a handle securely, and applying a suitable finish, you can craft a bat that suits your gameplay perfectly.
Throughout this guide, we’ve explored the essential steps involved in making a cricket bat. We began by understanding the importance of choosing the right willow, considering factors such as grain structure, weight, and moisture content. Then, we delved into the intricate process of shaping the bat, highlighting the significance of the blade’s contour, edges, and spine.
We discussed the meticulous task of attaching the handle, emphasizing the need for a tight and secure bond to ensure durability and stability during gameplay. Additionally, we explored the final step of applying the finish, which not only enhances the bat’s aesthetics but also protects it from external elements.
Throughout the guide, we’ve emphasized the importance of attention to detail, precision, and patience. Crafting a cricket bat is a delicate art, and each step contributes to the overall performance and durability of the bat.